Introduction
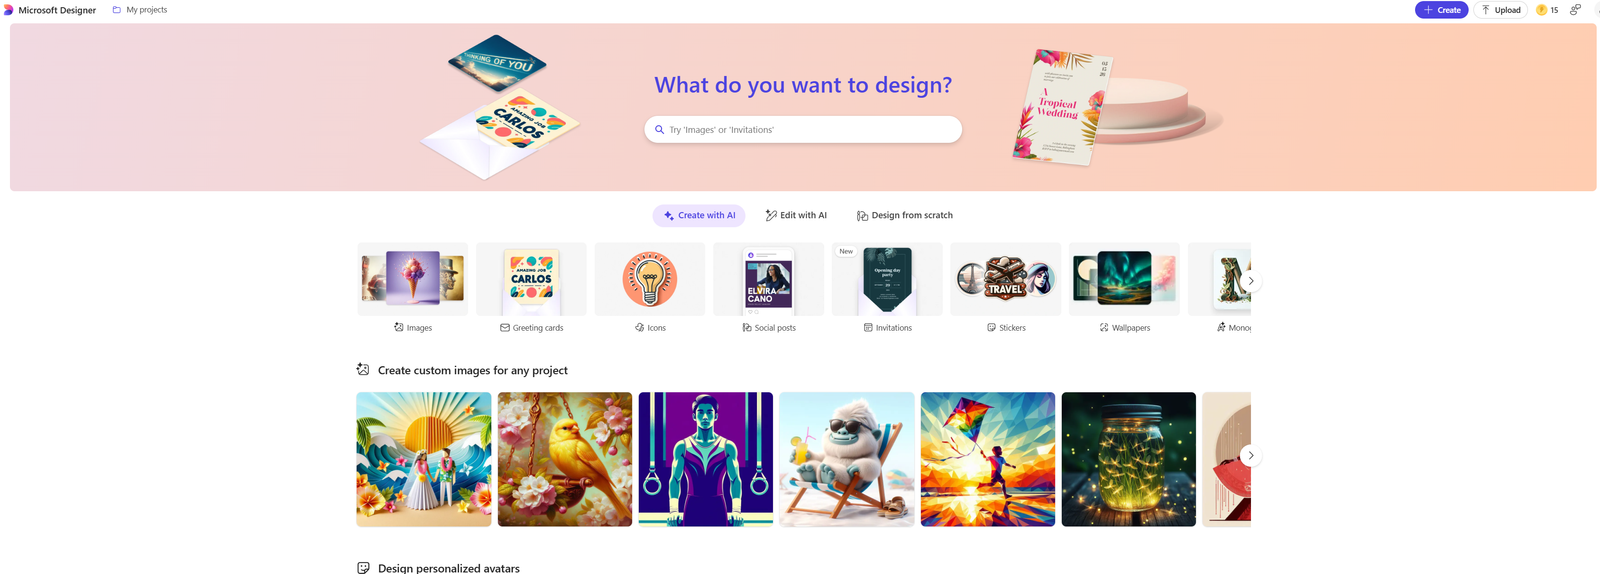
Microsoft Designer is a game-changer in the world of design. This AI-powered design app aims to simplify and supercharge your creative process, making it accessible whether you’re a seasoned designer or just starting out. Forget about spending endless hours adjusting designs; Microsoft Designer brings efficiency and precision into your workflow.
Optimizing design workflows isn’t just a luxury; it’s essential. The faster you can turn ideas into polished designs, the more productive you become. Time saved on repetitive tasks is time gained for innovation and creativity. This app is built with that philosophy in mind, offering tools that reduce manual work while maintaining high standards of quality.
We’ll be exploring 10 game-changing techniques that will enhance your use of Microsoft Designer:
- Utilize Text Prompts for Custom Image Creation
- Explore Collaborative Idea-Building Features
- Leverage Custom Templates for Quick Designs
- Advanced Image Editing Techniques
- Seamless Integration with Microsoft Photos
- Create Engaging Presentations with Copilot Pro Features
- Downloading the App for On-the-Go Design
- Exploring AI in Design Tools
- Compare Microsoft Designer with Other Design Apps
By the end, you’ll have a set of strategies to make your design process not only faster but also more enjoyable.
1. Utilize Text Prompts for Custom Image Creation
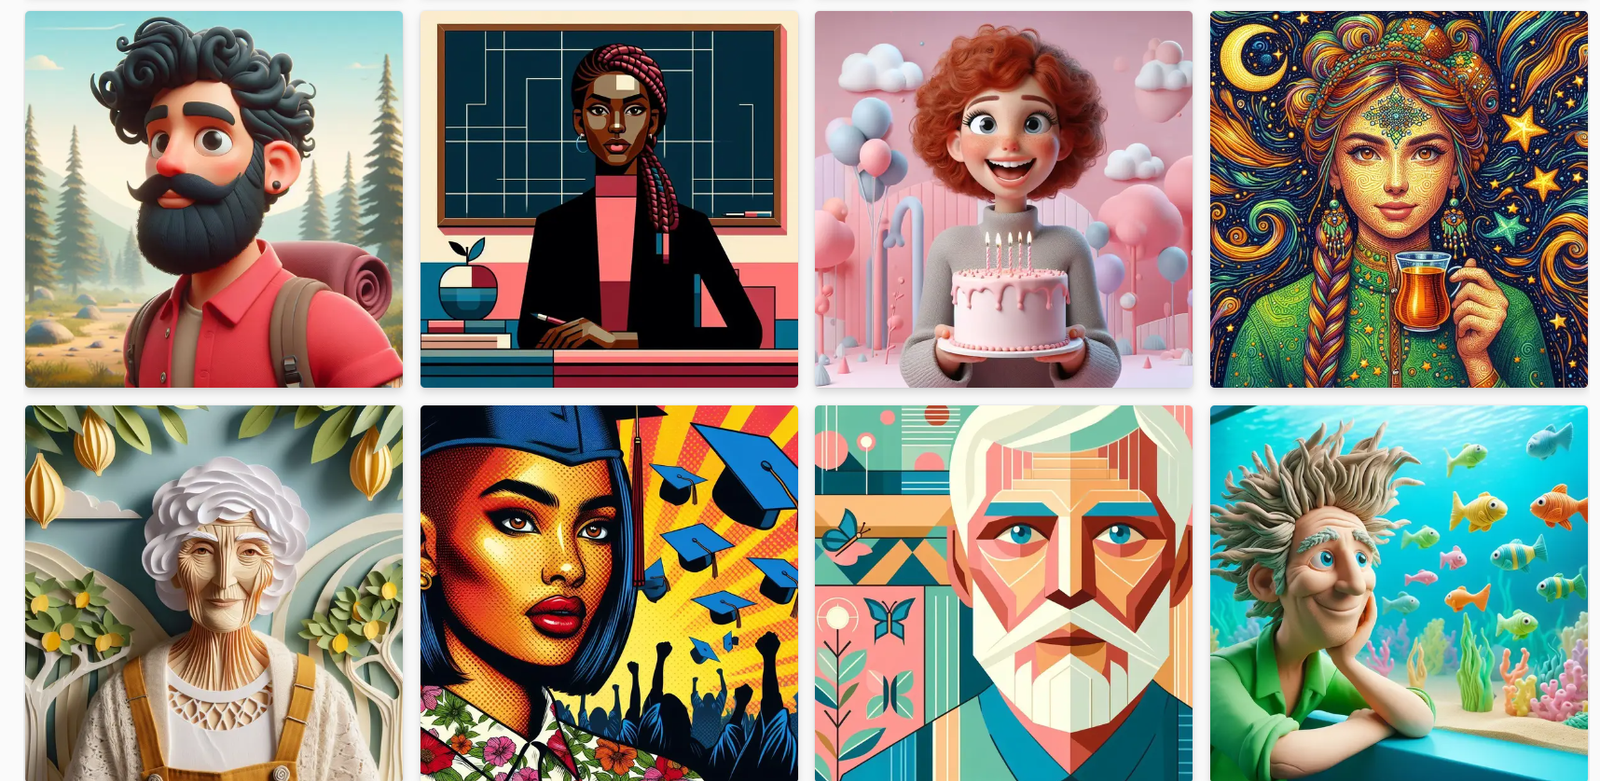
Hack 1 is all about using text prompts to easily create custom images. It’s like magic—just type a few words and see your idea come to life! Thanks to Microsoft Designer, this is now possible. Instead of struggling with complicated design software, you can simply describe what you want, such as “sunset over mountains” or “simple business logo,” and generate unique designs that match your needs perfectly.
How to Create Unique Designs Using Simple Text Prompts
- Open Microsoft Designer and go to the text prompt feature.
- Enter a detailed phrase describing the image you have in mind.
- Customize the generated design further using the available tools.
Examples of Effective Text Prompts
- For a social media post: “Bright summer beach scene with palm trees”
- For a business presentation: “Professional corporate infographic with blue accents”
- For personal use: “Cute animated cat in a playful pose”
Benefits of Text Prompts in Speeding Up the Creative Process
Using text prompts offers several advantages in making the creative process faster:
- No Design Skills Required: Text prompts remove the need for complex design knowledge, making it accessible to everyone.
- Quick Visualization: Instead of spending hours trying to create an image from scratch, text prompts provide instant visual representation based on your description.
- Efficient Iteration: If the initial design doesn’t fully meet your expectations, you can easily modify it using the customization options.
- Time Savings: By streamlining the design phase, you can allocate more time and energy towards other important tasks or projects.
2. Explore Collaborative Idea-Building Features
When it comes to collaborative idea-building, Microsoft Designer is excellent. This hack is all about using teamwork to spark creativity and productivity.
Collaboration Features in Microsoft Designer
- Real-time Editing: Work on designs at the same time as your team members.
- Commenting and Feedback: Easily leave comments and suggestions directly on the design.
- Shared Libraries: Access a shared pool of assets, templates, and styles for consistent branding.
Tips for Real-Time Collaboration
- Set Clear Objectives: Make sure everyone knows the project goals.
- Use Commenting Wisely: Provide constructive feedback without overwhelming team members.
- Leverage Shared Assets: Utilize shared libraries to maintain brand consistency.
Collaborative tools not only make the design process more efficient but also create a better creative atmosphere. With everyone’s input, projects become more dynamic and well-rounded.
3. Use Custom Templates for Quick Designs
Hack 3 is all about leveraging custom templates to speed up your design process. When you’re short on time or creative ideas, customizable templates can be a game-changer.
Why Custom Templates Are Important
- Efficiency: Pre-made templates streamline your workflow.
- Consistency: Maintain a coherent visual style across multiple projects.
How to Find and Customize Templates
- Open Microsoft Designer.
- Go to the ‘Templates’ section.
- Choose a template that suits your project.
- Make it your own by editing the text, colors, and images.
Types of Projects That Can Benefit
- Social Media Graphics: Quickly create attention-grabbing posts.
- Marketing Materials: Establish consistent branding with brochures and flyers.
- Event Invitations: Design professional-looking invites without starting from scratch.
By using custom templates, you can save time and effort in producing top-notch designs, allowing you to focus more on being creative and making refinements as needed.
4. Advanced Image Editing Techniques
Taking your designs to the next level requires mastery over advanced image editing techniques. Microsoft Designer’s advanced image editor is a treasure trove of tools that allow for intricate photo restyling, ensuring your visuals stand out.
What You Can Do with Advanced Image Editing
Microsoft Designer offers an array of powerful image editing features:
- Filters: Enhance or completely transform the look and feel of your images.
- Background Removal: Easily isolate subjects from their backgrounds.
- Photo Restyling: Change colors, add textures, or apply artistic effects.
How to Use the Editing Tools
Here’s a step-by-step guide on using these tools in Microsoft Designer:
1. Applying Filters
- Select your image.
- Navigate to the Filters panel.
- Choose from a variety of filter options and adjust intensity as needed.
2. Background Removal
- Click on the image you wish to edit.
- Use the Remove Background tool located in the toolbar.
- Manually refine edges if necessary for a clean cut-out.
3. Photo Restyling
- Open the Restyle section.
- Experiment with color adjustments, texture overlays, and artistic effects to achieve your desired look.
Ways to Apply These Editing Features
These tools aren’t just for show—they have practical applications:
- Marketing Campaigns: Create eye-catching visuals that attract your audience’s attention.
- Social Media Posts: Design unique and engaging images that stand out in feeds.
- Professional Portfolios: Showcase your work with polished, professional-quality images.
The advanced image editor in Microsoft Designer empowers you to turn ordinary photos into extraordinary pieces of art with minimal effort.
5. Integration with Microsoft Photos
The seamless integration with Microsoft Photos on Windows 11 is like having your cake and eating it too. This nifty feature allows you to pull images directly from your photo library into Microsoft Designer, streamlining the design process.
How to Use this Integration:
- Open Microsoft Designer: Fire up the app on your Windows 11 device.
- Select ‘Import from Photos’: Navigate to the import options and choose Microsoft Photos.
- Choose Your Images: Select the images you need for your project.
- Start Designing: Begin editing and incorporating these photos into your design seamlessly.
Benefits of a Unified Ecosystem:
- Efficiency: No more hopping between apps – keep everything within one ecosystem.
- Synchronization: Changes in your photo library are instantly accessible in Microsoft Designer.
- Consistency: Maintain a consistent workflow across all Microsoft applications, enhancing productivity.
Integrating these tools saves time and keeps all your creative assets at your fingertips, making the design process smoother than ever. Forbes even highlights the benefits of an integrated tech ecosystem, which aligns perfectly with the advantages offered by this integration.
6. Create Engaging Presentations with Copilot Pro Features
Hack 6 uses the advanced features of Copilot Pro to create impressive presentations in Word and PowerPoint.
How to Incorporate Designs Seamlessly
- Drag-and-drop functionality: Move your designs straight into your documents.
- Linked updates: Any changes in Designer reflect immediately in your Word or PowerPoint file.
Tips for Visually Appealing Presentations
- Consistent color schemes: Maintain uniformity across slides.
- Custom templates: Utilize pre-made layouts for a polished look.
- Interactive elements: Embed dynamic charts and graphics.
Case Studies: Effective Presentations
- Sales Pitch Decks: Improved engagement with custom visuals.
- Educational Slideshows: Enhanced learning with interactive infographics.
This hack ensures that whether you’re crafting a business proposal or an educational presentation, your content is not just informative but also visually captivating.
7. Downloading the App for On-the-Go Design
Downloading Microsoft Designer app on your mobile devices can revolutionize your design workflow, making creativity accessible anytime, anywhere.
Guide on Downloading Microsoft Designer on iOS and Android Devices
- Open the App Store (iOS) or Google Play Store (Android).
- Search for “Microsoft Designer.”
- Tap “Download” and install the app.
- Open the app and log in with your Microsoft account.
Benefits of Mobile Access for Designers on the Move
- Flexibility: Create or edit designs while commuting or waiting for an appointment.
- Instant Inspiration: Capture ideas as they come, without needing to be at your desk.
- Collaboration: Share designs with team members directly from your phone.
Features Available on Mobile vs Desktop Versions
- Mobile: Simple text prompts, basic editing tools, access to templates.
- Desktop: Advanced image editing, seamless integration with other Microsoft apps like Word and PowerPoint, more extensive customization options.
Downloading the app not only ensures you’re equipped to capture creativity wherever you are but also keeps you connected to a robust set of design tools that sync effortlessly across devices.
8. Exploring AI in Design Tools
To fully understand how AI transforms the creative process, it’s important to explore its role in design tools. Microsoft Designer is a great example of this, as it leverages AI capabilities to elevate your design game. Here are some ways in which AI is used in design tools:
- Auto-enhancements: Imagine a tool that automatically adjusts the brightness, contrast, and saturation of your images for you. Well, with AI, that’s exactly what you get. It can analyze your images and make enhancements to make them look even better.
- Background removal: In the past, removing backgrounds from images was a time-consuming task that required manual effort. But now, thanks to AI, it has become much easier. With just a few clicks, you can use an AI-powered tool to accurately remove the background from any image.
- Style suggestions: Choosing the right fonts and color schemes for your designs can sometimes be challenging. That’s where AI comes in handy. By analyzing current design trends and patterns, it can provide you with personalized suggestions and recommendations.
By incorporating these features into design tools, AI is able to automate mundane tasks and free up your time and energy so that you can focus on what truly matters – bringing your creative vision to life.
“AI’s role in design isn’t just a gimmick; it’s shaping the future of creativity by automating mundane tasks and letting you focus on what matters most—your vision.”
9. Compare Microsoft Designer with Other Design Apps
In this section, we will compare Microsoft Designer with other design apps to see how it stacks up. Here are some key differences:
- AI Integration: Microsoft’s AI capabilities in creating custom images from text prompts are more advanced than many competitors.
- Ecosystem Integration: Seamlessly integrates with Windows and other Microsoft products, unlike standalone apps like Canva.
- Collaboration Features: Offers robust real-time collaboration tools.
Pros:
- Microsoft Designer:
- Deep integration with Microsoft tools
- Advanced AI features
- Canva:
- User-friendly interface
- Extensive template library
Cons:
- Microsoft Designer:
- Slightly steeper learning curve for beginners
- Canva:
- Limited advanced editing features
Your choice between these options will depend on whether you value ecosystem integration and AI capabilities or prefer ease of use and access to templates.
Conclusion
Trying out these hacks can be a game-changer for your design workflow. Whether you’re looking to speed up the creative process with text prompts or enhance your team’s productivity through collaborative tools, Microsoft Designer has a feature for you.
AI-powered tools are the future of design. They streamline complex tasks, allowing you to focus on creativity and innovation. Microsoft Designer’s integration with other Microsoft apps like Word and PowerPoint further amplifies its utility, making it an indispensable tool in any designer’s arsenal.
Summary of Hacks:
- Text Prompts: Create unique designs swiftly.
- Collaborative Features: Boost team creativity and productivity.
- Custom Templates: Save time with pre-made layouts.
- Advanced Editing: Enhance images with ease.
- Microsoft Photos Integration: Leverage a unified ecosystem.
- Copilot Pro Features: Seamlessly incorporate designs into documents and presentations.
- Mobile Access: Design on-the-go with iOS and Android apps.
- AI Tools: Simplify tasks and achieve professional results.
- Comparison with Other Apps: Choose the best tool for your needs.
Microsoft Designer, equipped with these hacks, can transform your workflow, making design not just easier but also more enjoyable. Dive in and experience how these features can elevate your creative projects!
FAQs (Frequently Asked Questions)
What is Microsoft Designer and how can it transform my design workflow?
Microsoft Designer is an AI-powered design application that helps optimize design workflows by offering various innovative features. It allows users to create unique designs quickly, collaborate with team members in real-time, and leverage advanced image editing techniques, ultimately transforming the way designers work.
How can I create custom images using text prompts in Microsoft Designer?
You can create custom images in Microsoft Designer by utilizing simple text prompts. By providing specific descriptions or keywords related to your design needs, the app generates unique visuals. This method speeds up the creative process and allows for greater flexibility in design.
What collaborative features does Microsoft Designer offer?
Microsoft Designer includes several collaborative idea-building features that enable teamwork and enhance creativity. Users can collaborate with team members in real-time, share ideas, and utilize creative tools together, making it easier to produce high-quality designs collectively.
Are there customizable templates available for quick designs?
Yes, Microsoft Designer offers a variety of customizable templates that facilitate faster design processes. You can find and customize these templates within the app, allowing you to efficiently create projects while saving time on initial design work.
How does Microsoft Designer integrate with Microsoft Photos?
Microsoft Designer seamlessly integrates with Microsoft Photos on Windows 11, allowing users to access their photo library directly within the app. This integration enhances the design process by providing easy access to images and streamlining workflows within a unified ecosystem.
What are some AI-driven features in Microsoft Designer?
Microsoft Designer utilizes AI capabilities to enhance the design process through features like auto-enhancements and smart suggestions. These AI-driven tools simplify tasks for users, making it easier to achieve professional-looking results without extensive manual adjustments.